So i thought about writing this small tutorial for a friend of mine, i will try to cover the steps to create a simple button in photoshop from scratch
Note :
1. I am NOT an expert in photoshop
2. This is roughly the way i do work, there would be dozens of other ways to reach the same effects, feel free to explore
3. The "button" or all the images were taken soley for purpose of creating this tutorial so i haven't bothered with any refiniements or any other thing, they are just to provide the user with some basic knowledge and than its upto his or her's creativity to explore. :)
I assume you already have started photoshop, for this tutorial and all the images i have used photoshop cs 2, your interface might vary with the version you are using. First thing is to create a new document, you can do this either by going to File -> New or simply press CTRL+N on Windows. A window will open looking similar to the image below, enter the dimensions as indicated by the image i.e. 300 x 300. For this exercise i had my background color as black (i love working with black or white)
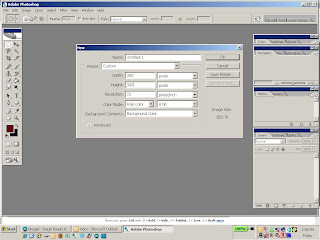
When you are done click OK to proceed
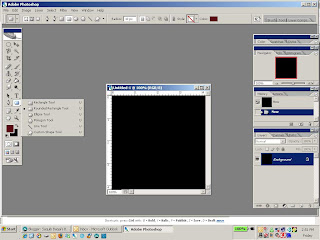
Now you will be presented with a small window, we now will proceed to make the basic shape of the button, we want to be rectangular with rounded edges, so as indicated in the image below click in the toolbar and select "Rounded Rectangle" or you can use the keyboard shortcut "U"
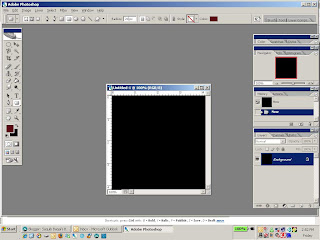
We want to modify the settings so that our "button" will have more rounded edges for that find the setting in the top most menu bar and modify the setting for "Radius" the default value is 10 we want to make it 20, you can see it illustrated in the image below
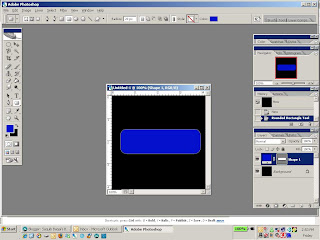
Now go ahead drag your mouse (press left button and move the mouse) and create yourself a vague rectangular shape something like in the image below
Now the fun part starts, we will now convert this boring looking rectangle into something more "fancy". Right click on the shape layer and you will be presented with a menu
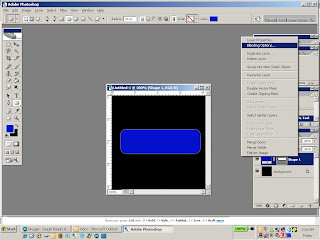
Click on "Blending Options" and you will be presented with a new window with different options, we will explore different options one by one to see their effects
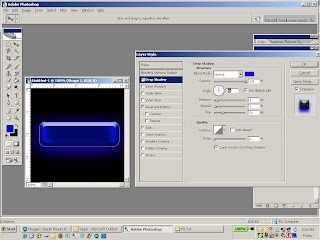
First click on "Drop Shadow" and make the settings as per the image below, while you are playing around with different settings feel free to explore and learn what impact they do on the image
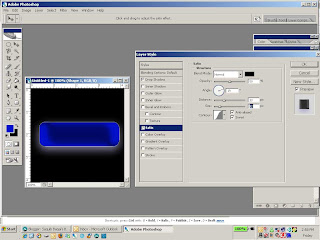
Next we will explore settings of "Satin" and make the settings in accordance to the image below
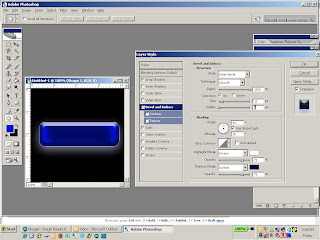
Now we have a general "shape" of a button, its time to give it some edges and bevel it, we will now check the settings for "Bevel And Emboss", As before try to match the settings as per image below, like i have mentioned before feel free to explore what impact different settings do to your image
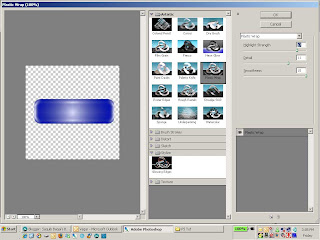
Now go to Filters -> Artistic -> Plastic Wrap, PS will ask you if you want to resterize the layer blah blah blah, press okay, you will be taken to a window which will resemble something like the image below, make the settings accordingly
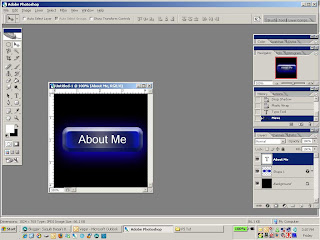
Now its time to add some text to the "button" press T and type something and it will look something like the image below (provided your text color is white)
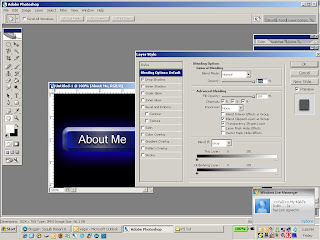
Again right click on the text layer select Blending Options and give the text some drop shadow so it looks nicer like the image below
There you go a simple way to create an average looking button in photoshop, its not good or anything but at least it shows you certain ways of getting things done, hopefully it will come in use for someone out there :)


No comments:
Post a Comment